I read up on starting seeds indoors. Utah is mostly a Heat Zone 7 state. That means you have to wait longer to get your plants out...well longer than a zone 5, but not as long as a zone 12. If you're interested in heat zones, check out this article. It explains them well. It's talking about heat zones, not hardiness zones. I guess in Florida and some parts of Texas, people just plant tomato seeds like we plant corn seeds. You could do that in Utah, but your tomatoes wouldn't produce as well. Starting seeds doesn't have to be complicated. You need a soil bed to plant the seeds in, a light source for photosynthesis, and water. If you plant them in a room where the temperature falls to less than 70 degrees, you'll also need a heating mat to stimulate germination. And don't just stick a heating pad beneath them...if it gets hotter than 85 degrees, the seeds won't germinate. As with most simple things, the more you read about them, the more complicated they can become. I read some articles about lighting. They suggested you only buy HID grow lights because they are the best, and anything else isn't really worth using. Well HID (metal halide) grow lights cost around $300.00. The articles I read also suggested using special grow mats that have a water drawing system that draws water from the bottom of a tray, so your seedlings always get what they need. Those cost around $50.00. There are even special stands specifically designed to facilitate seedling growth. They cost around $150.00. The more you read, the more you think, "I really need this stuff or my seeds aren't going to grow." In the end, I used a $30.00 light from Home Depot, a plastic seed starting tray from the local nursery, and put it all on a card table. I did have to buy a heating mat. It came in the kit with the seed starting tray.
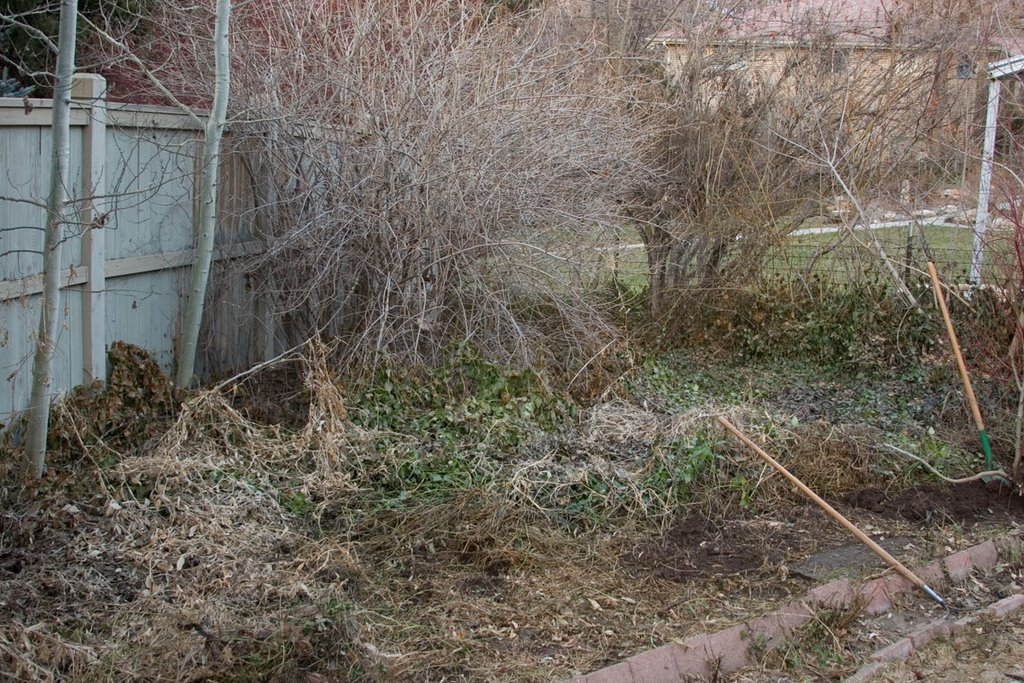
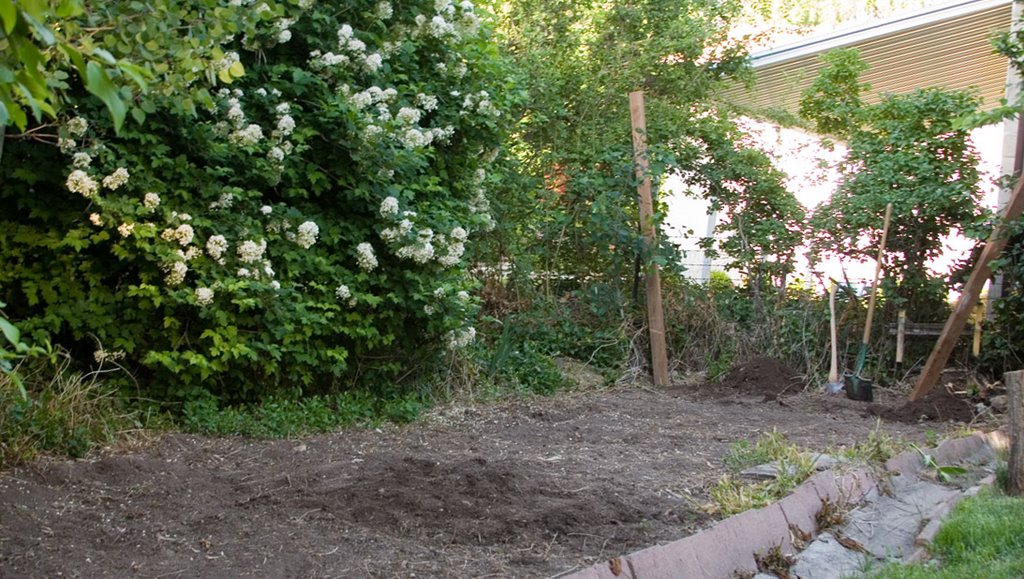
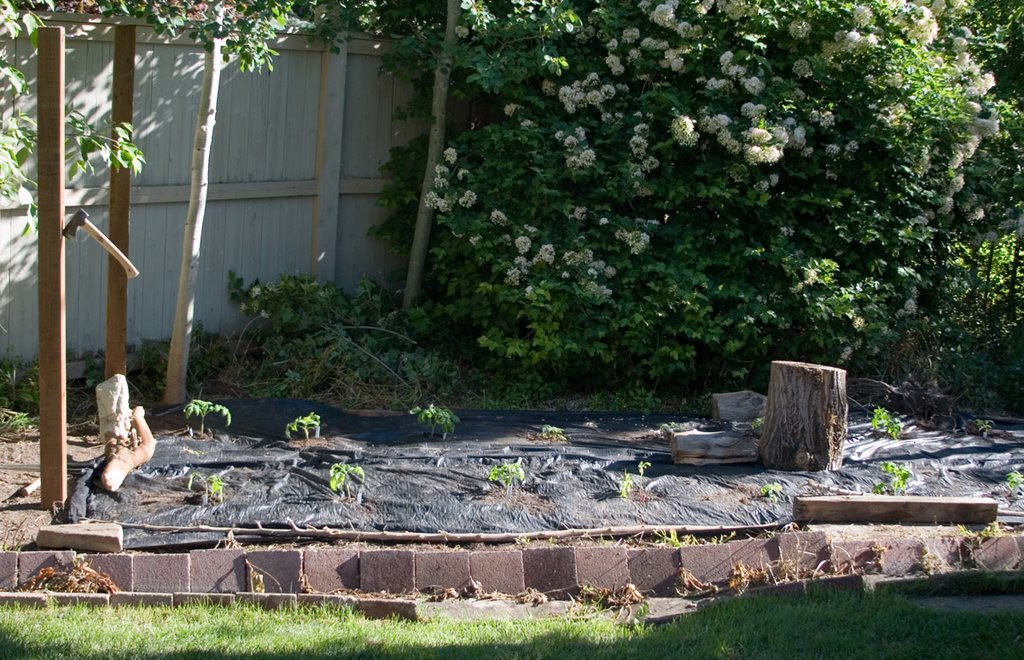
This is what we had before any work had been done. The area was home to English Ivy and a Wild Sweet Pea, a flower that is basically a weed, or at least grows like a weed. I knew clearing it out would be a lot of work, but I wasn't prepared with how physical it would be. The ivy really took a lot of work to get out, more than I had imagined. I spend an hour working and clear a 3x3 foot area is all. Then I'd get discouraged and think, there's no way I'm going to do all this...so I'm lucky I started in March, or it would never have gotten done. Here are some pictures of the seedlings.
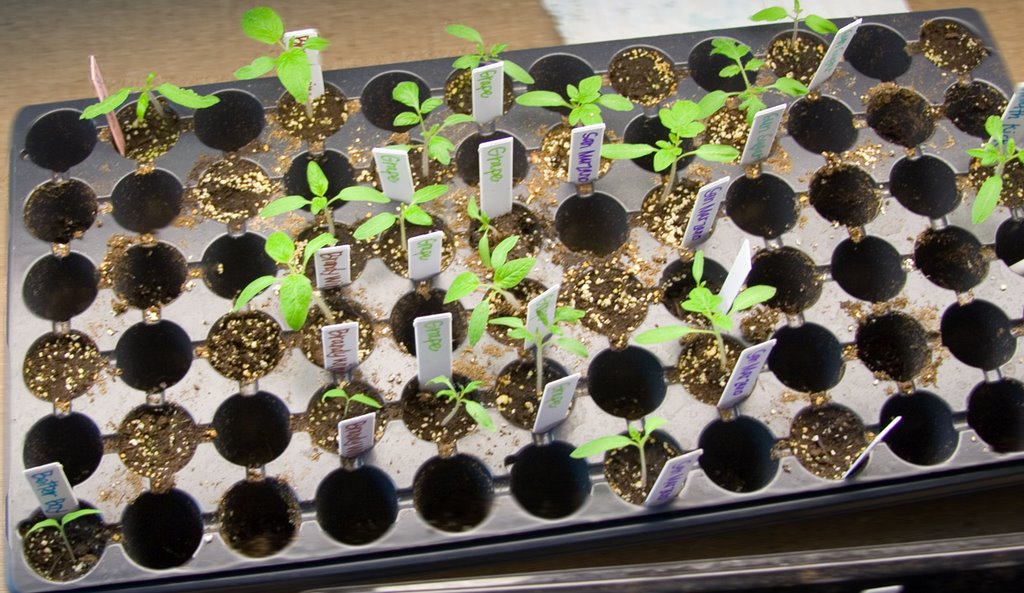 Here they are in the starting tray.
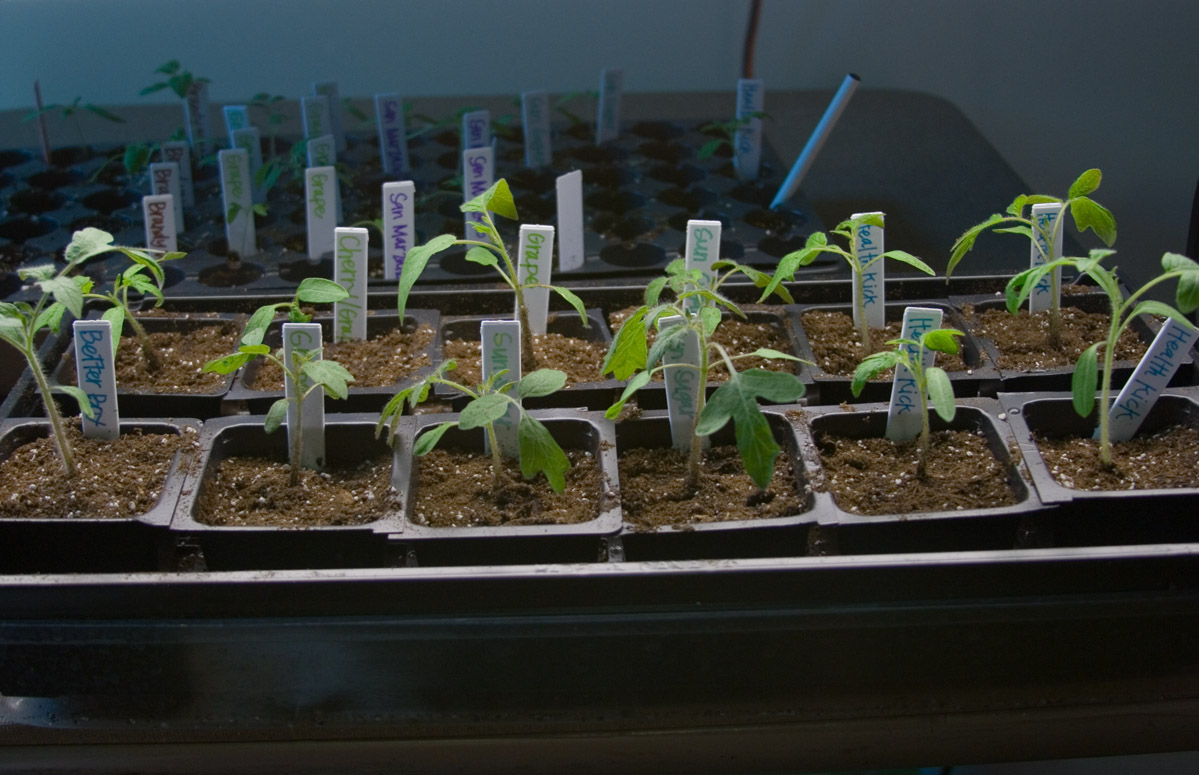 These have been transplanted to bigger pots.
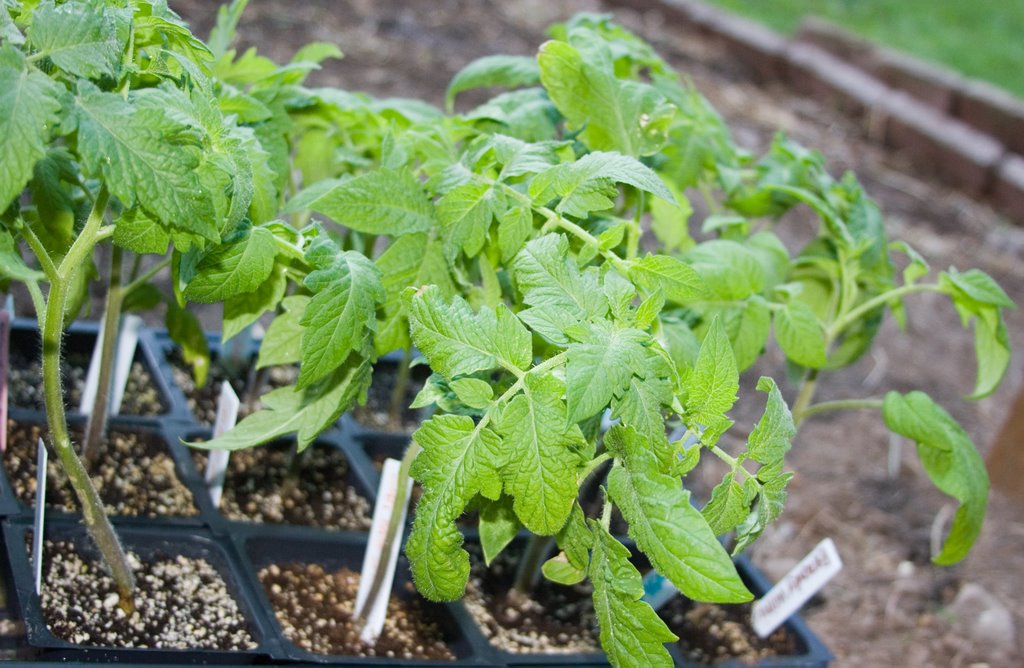
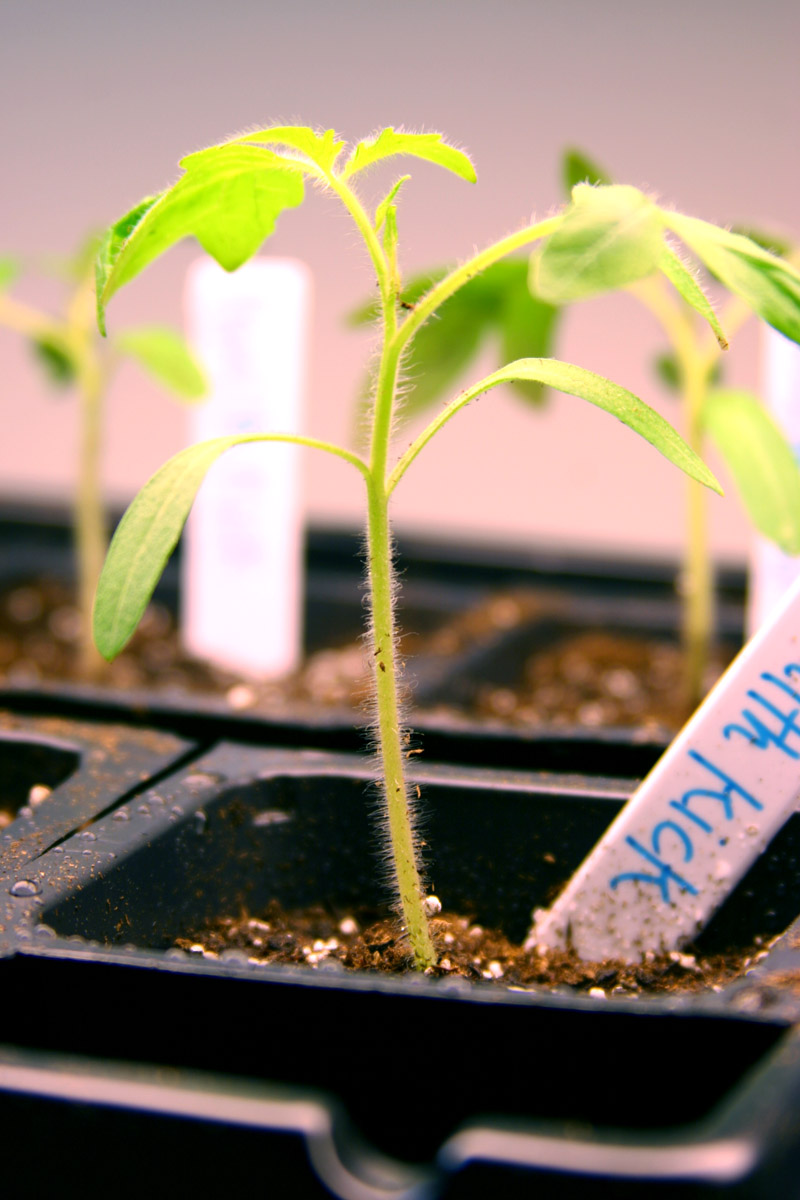 Here's a close-up.
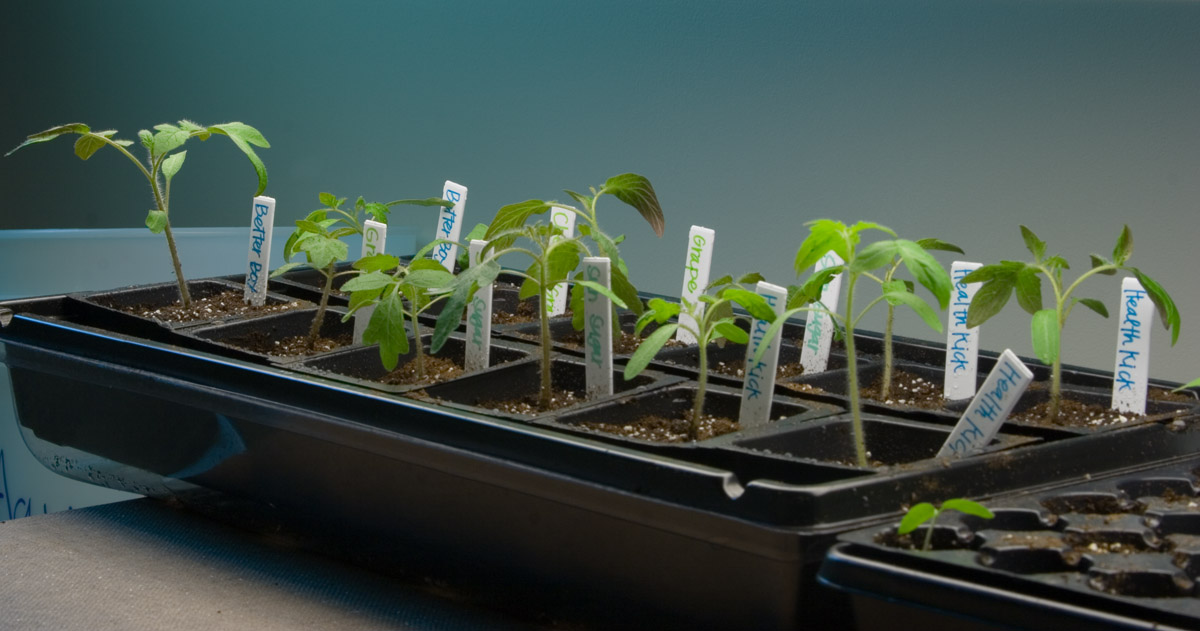 Some got bigger much quicker than others, so I did the first transplant in three stages.
With Kanien and Spencer's help, the area was finally clear enough to plant. Kanien cleared the last of the ivy out, and Spencer came down with Dad's tiller to till it for us. He wouldn't even let me pay him for it.
 This is how it looked before we'd planted anything
There are many methods by which you can keep your tomatoes off of the ground. the three most popular are caging, staking, and trellising. I decided to use a trellis method due to its low cost and simplicity. Here's a picture of the designe I wanted to implement.

The first step was to put posts in. I started 36 plants. 33 of them ended up being usable. Some didn't even germinate. I gave 11 plants away, and we kept 22. That meant I needed two rows of 11 plants. I bought some weather-proofed posts from Home Depot. I bought 8-foot posts and buried them two feet in the ground.
 I somehow manage to always look awkward in photos. That's probably why I make faces.
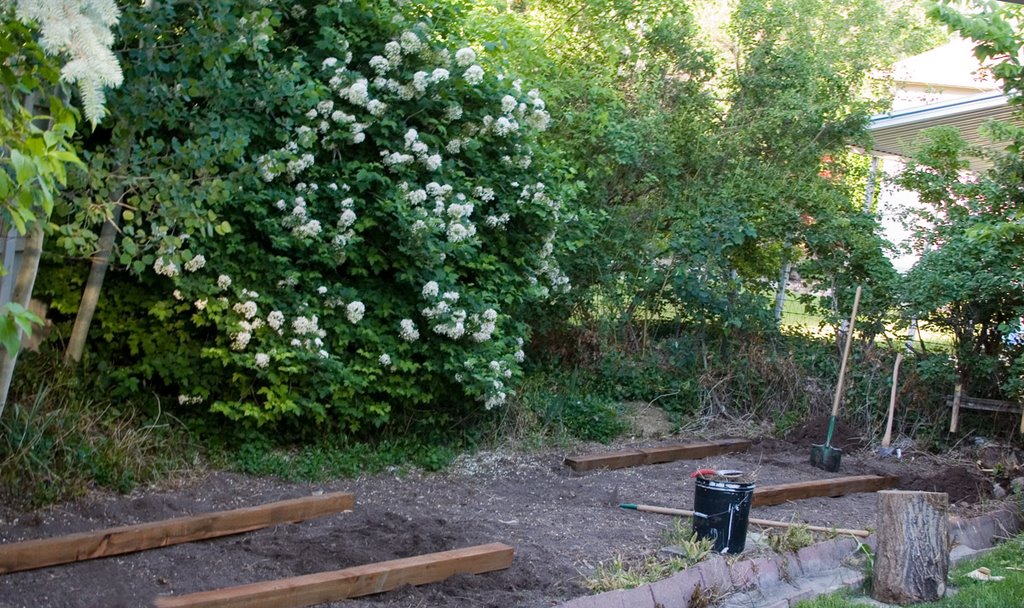 All set out for burying
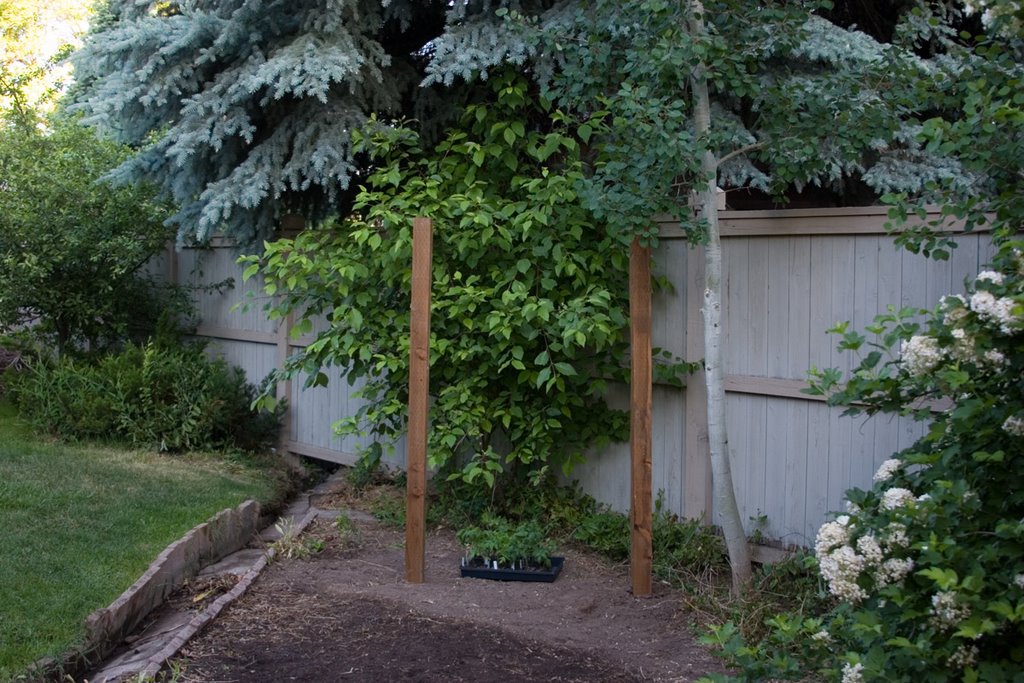 Done and Buried
Here are what the plants looked like right before I planted them. The tallest were around 8 inches. Before you can plant an indoor start outside, you have to "harden off" the seedlings. You take the plants outside during the warm part of the day, then bring them back inside when it gets cold. This habituates the plants to outdoor weather. I thought the hardening off was just that, a habituation, but the stalks really did get nice and hard.

I knew from experience that if a garden area is allowed to "go to weed," it's almost impossible to keep it weed free in the years to come. I found out that even just one year of weeds can leave seeds in the ground that will germinate for the next eight years. That means you'd have to cultivate daily for eight years just to get rid of one year's supply of seeds. I knew there was no way I would do all that, so I decided a weed barrier was my only solution. Mom and Dad have used black plastic in the past. Other people just put mulch (like grass clippings or bark) down to keep off the weeds. The problem with plastic is it's noisy, ugly, and non permeable. The water that pools on it can house a lot of disease that could infect your plants. I didn't want to use plastic. The mulch idea is good, but it's a lot of work and no realy guarantee that the weeds will stay off. Plus, Grandma Noni's lawn isn't big enough to generate enough mulch to keep the weeds down. I decided to use landscaping fabric (also called weed barrier). This is the stuff landscapers use before they plant. They'll clear out a bed, lay the barrier down, plant their stuff, then cover the barrier with a mulch. It's a permeable mesh-type fabric, so water runs through it.
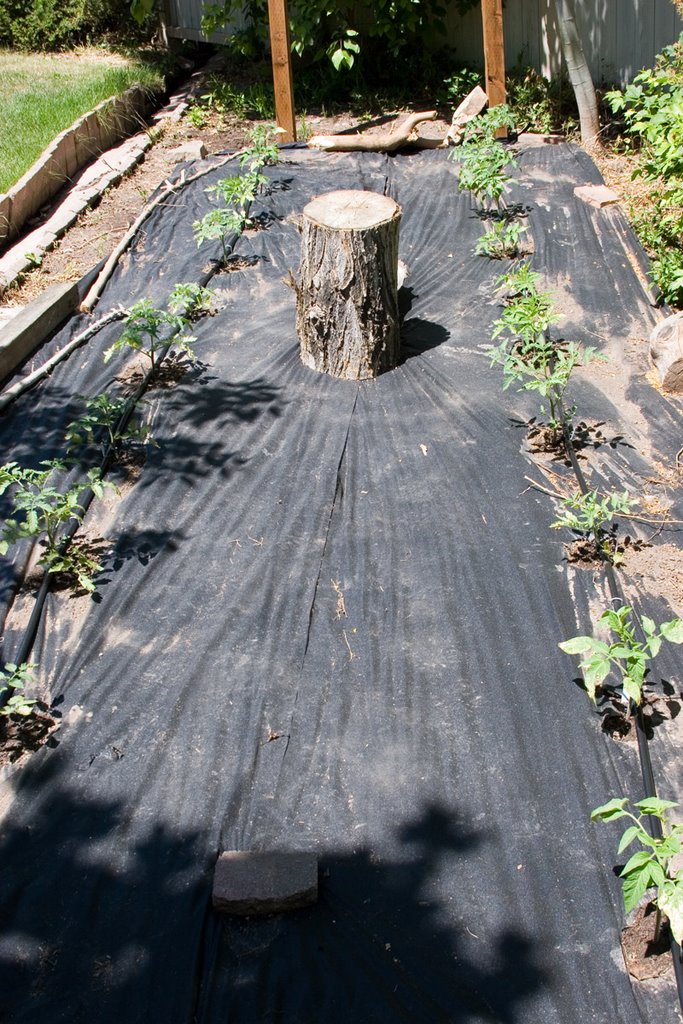
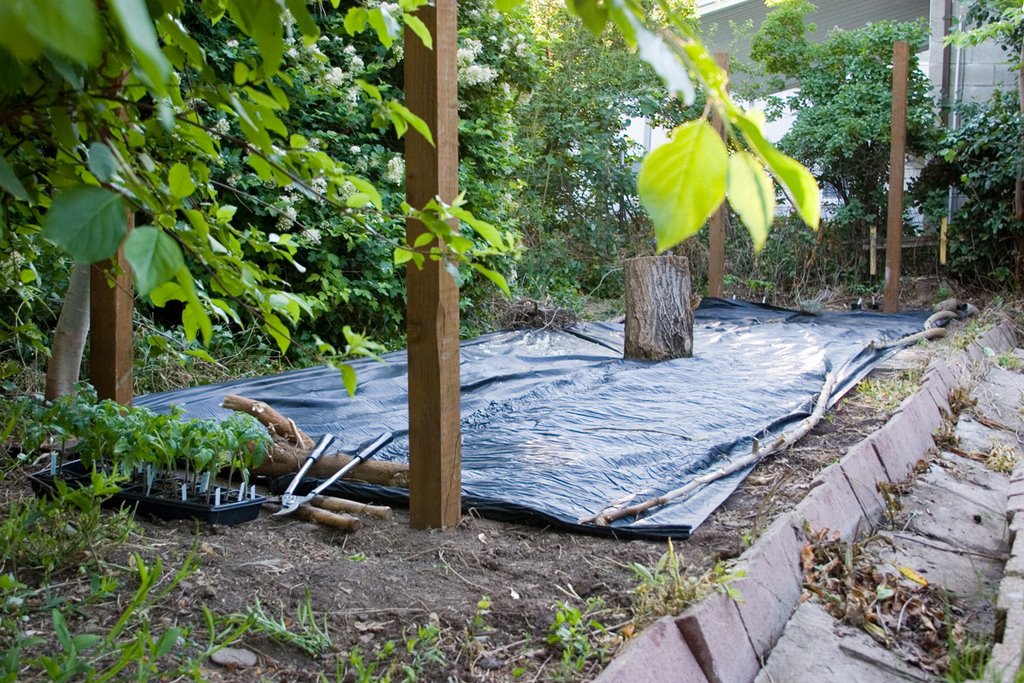 I placed sticks and stumps and logs on the edges of the fabric to keep it from blowing away in the wind. That stump in the middle also serves as a great Lemonade Seat where you can watch your plants grow.
I wanted to plant each plant 24" apart. I thought I could eyeball it, but decided to use my tape measure to ensure accurate spacing.
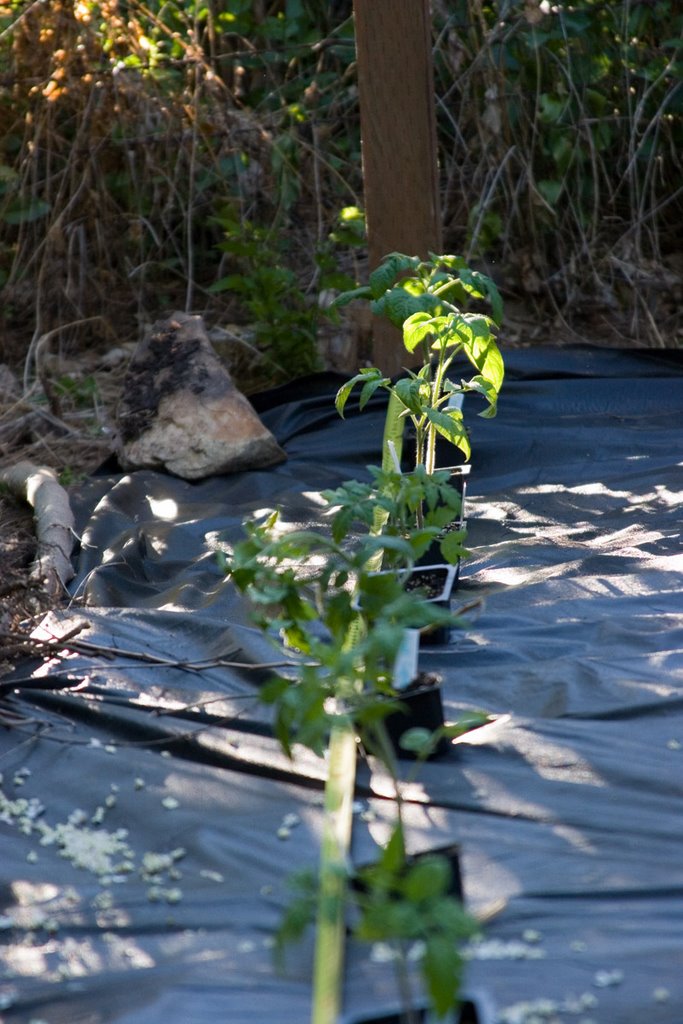
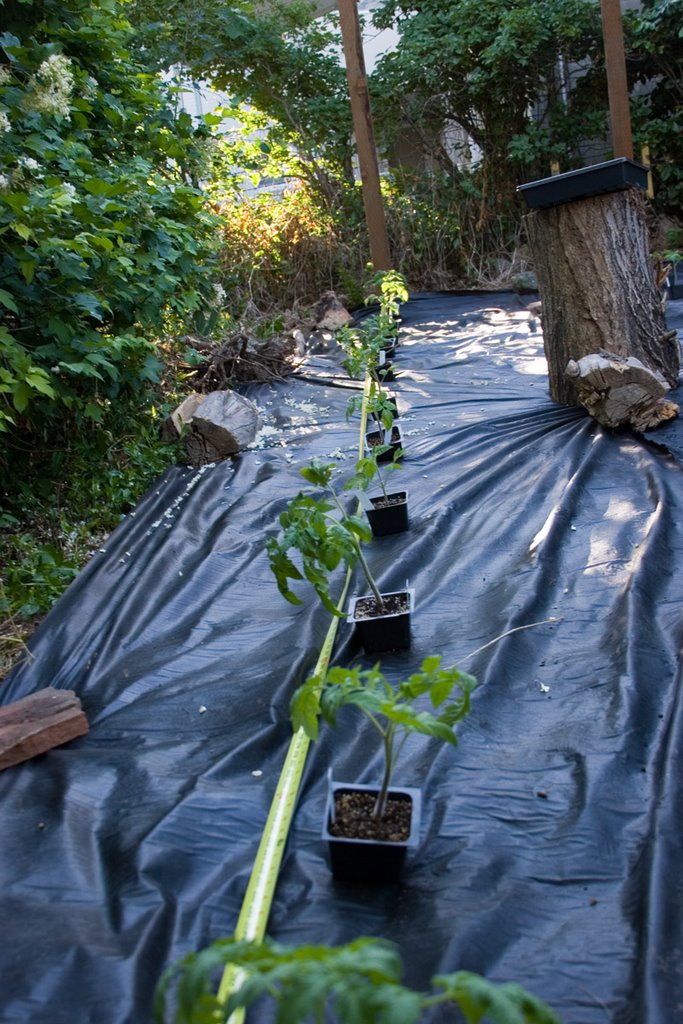 Kanein and I planted the morning before we left for Island Park. We used an old pocket knife I had to cut large X's in the the fabric where we wanted to place our plants. Then we'd roll back the edges, dig a hole, and plant the seedling. It was more work than planting without a weed barrier, but it wasn't too bad. It only took us 90 minutes or so to plant 22 plants....each spaced exactly 24" from the next.
We planted and left for the Cabin. Grandpa said he'd water them while we were gone. There are no sprinklers that hit the garden, so he had to lug a hose around and water each plant until he thought it had had enough to drink. While we were gone, the nighttime temperatures got below 40 degrees, and when we came back a few of the plants had singe marks on the edges. We were lucky we didn't lose all of our tomatoes. Grandpa said some of his died. All of ours survived.
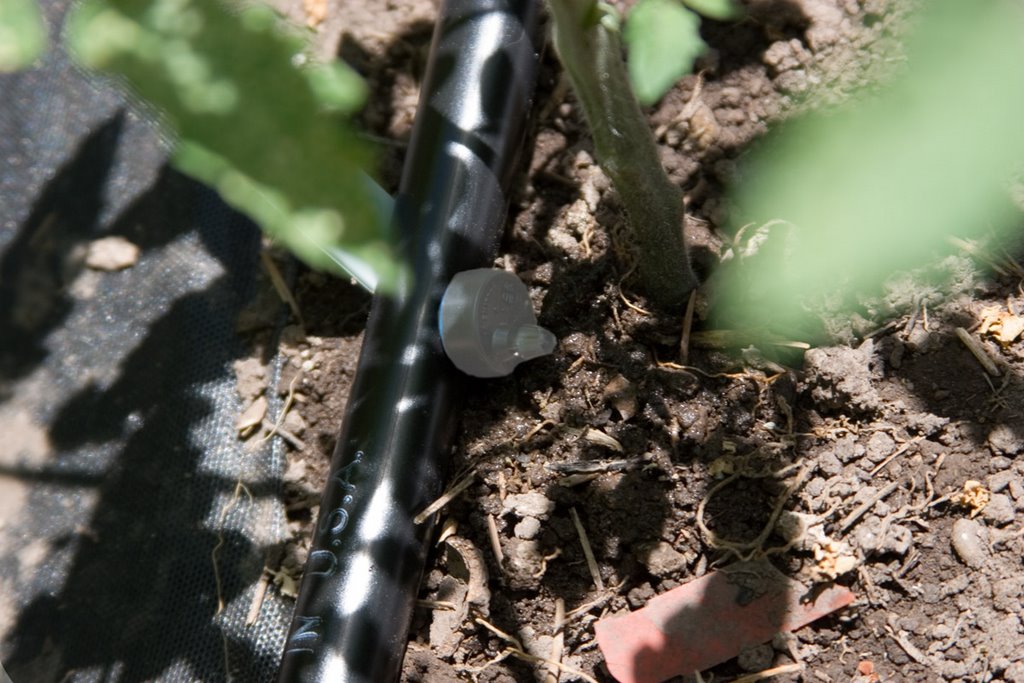
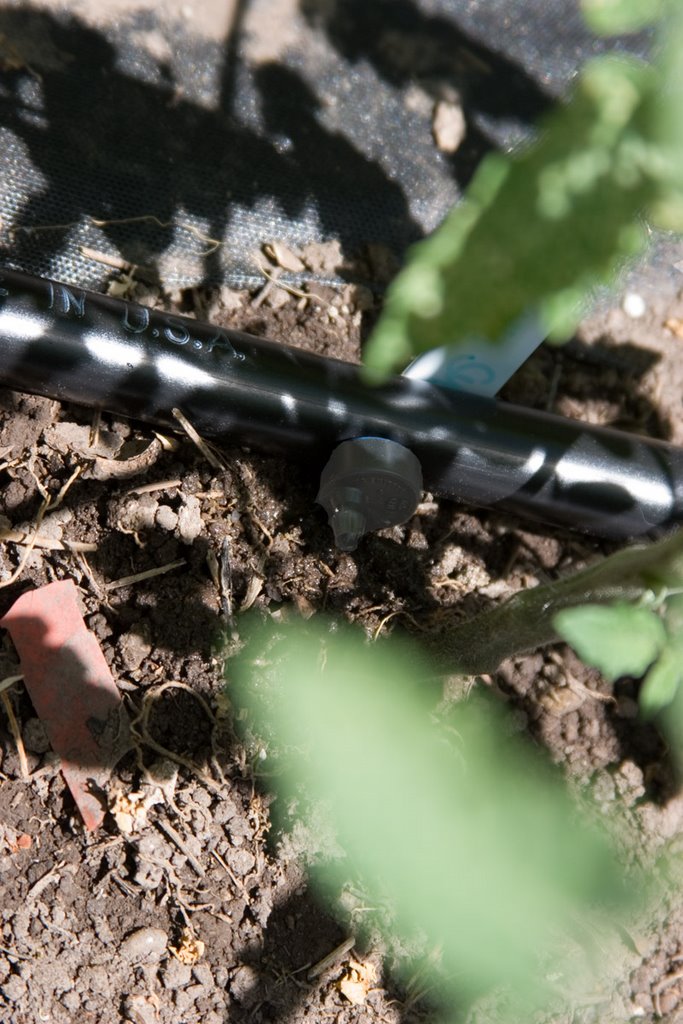
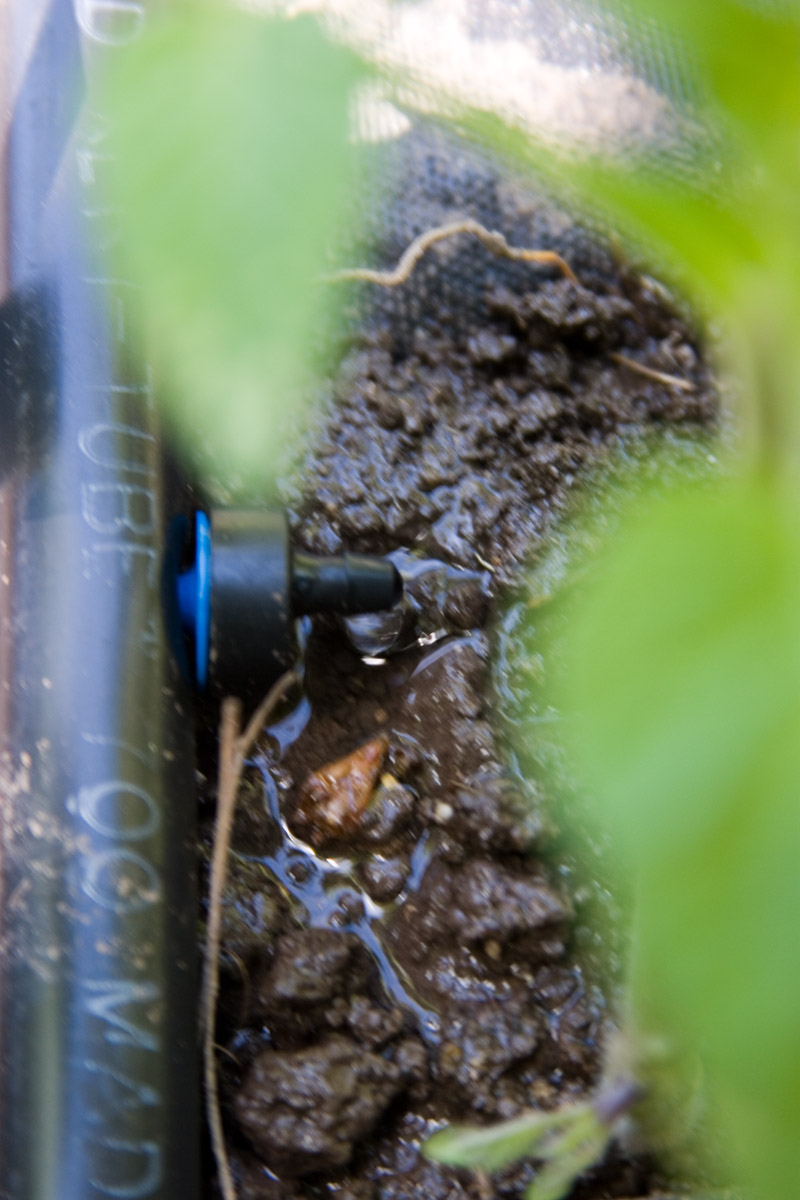
About a year ago, I'd read a lot about drip irrigation. I thought it would be perfect to set up in Mom and Dad's garden, but they've got waaay to much sediment in their water, and it just isn't feasible. Dad would have to clean the filter at least every day or the system would clog. At Grandma Noni's house, culinary water is used to water the lawn. It's the perfect setup for a drip system. We didn't even have to tap into the sprinkler lines. All I did was run a hose to the top of the garden, install a 30 PSI pressure regulator and run my drip lines from that. Since my rows are quite straight, I just plugged 1/2 GPH (gallons per hour) emitters right into the drip tubing. Now all I have to do is turn on the hose for a couple of hours a day, and the plants are watered. Drip irrigation is great, and not just because it saves water. You only water where you have plants, which really helps keep weeds down. You also get deep, concentrated watering which helps develop strong root systems. You also have no runoff that comes with furrow irrigation systems, and each section of your garden is watered equally. With furrow irrigation, the bottom section of the garden gets the most water. With drip irrigation, it's equal throughout the garden. Here are some not-so-great pictures of the irrigation in action:

And that's it. I'll take more pictures as the plants get bigger. I've already got some that are more than 18" high. Hopefully we'll be able to train them to reach their 6' height. They're all indeterminate plants, so they should be able to reach it no problem.
Oh, here's a little rundown on what we planted:
Brandywine: 2 plants
Health Kick: 4 plants
San Marzano Roma: 3
Better Boy: 3
Sun Gold: 4
Cherry Roma: 6
We should have some Health Kick by July 14th, if the weather stays nice and sunny. The Brandywine's won't give us ripe fruit until the start of August. I also planted two Straight 8 cucumber plants...they're a slicing cucumber. I've still got to plant my squash plants. We're going to plant Zucchini and Crookneck. Tomorrow I'll climb up on the roof and get some arial photos of the garden, and post them here. That'll give you a better feel for how big it is. If you want more details on anything (trellis, drip irrigation, starting seeds) let me know in the comments and I'll post it.


5 comments:
more detials? are you kidding? When I asked for pictures I didn't know I'd get that much. Not that I didn't enjoy reading it, because I did. It looks like an awesome garden. I can't wait to sit on the stump and watch it grow. Jeff requested an individual picture of each plant and any affectionate name you might call them.
Jon, you make me laugh! We'll have to come by and sit on the stump and enjoy the view and all that growing activity : ) Better buy a big thing of country time lemonade, I think you need it.
This is Layne, not JulVal. Hey, Jon, once again you have come through in the clutch for me. I was starting to sweat about our "Moving indoor tomato plants to an outside garden" test in Financial Accounting III. Thanks to your prudent research and thoroughness, that is no longer a concern.
BTW, you need to get Kanien with a pitchfork in the pic where you have the hoe.
How about you come over and put posts in my garden so my tomatoes can grow up also! I still don't have tomatoes planted - hopefully I can find some at J & J nursery to plant - if not hopefully you will have tomatoes growing so plentifully that you will share!
Awesome garden Jon, I hope I get a jar of Sun Gold preserved tomatoes for Christmas.
So far the only action in our garden has been the squirrels digging up two pepper plants and digging in my squash/pumpkin hills.
Post a Comment